Pages

Sunday, January 17, 2016

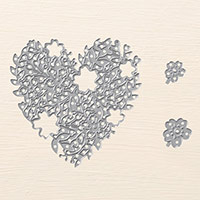
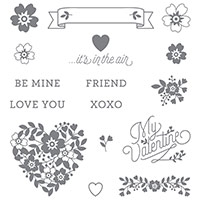
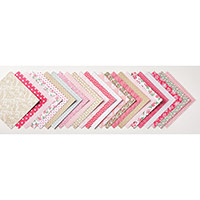
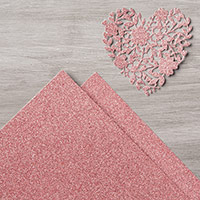
Oh I do love everything single piece of this set. The DSP. The pink glitter paper.  The framelits!  It's girly. It's pretty.  It's sparkley. It's just fab!
So here we go. I set aside some time a few nights and got into a flow.  (Night owl here)  I'm so excited about my little coffee cups stash and have yet to add them to a workshop.  Hmm. Soon.  I think.  :-)  Love Blossoms

Eek!  Pink Sparkly hearts!

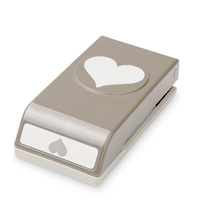
How incredible is that heart framelit?! 


Picture taking fail! I just couldn't manage a decent pic of my coffee cups but I really really wanted to share! I'll work on that.  :-) 
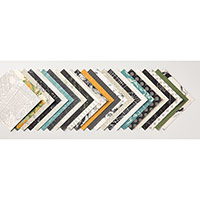
One more.  It's not pink or sparkly or girly but I love it nonetheless. It's a great way to guy up your card stash and I just love the travel aspect of the designs. I need a road trip now.  I'm itchin to get out on the road! Anyway, hope you like! 
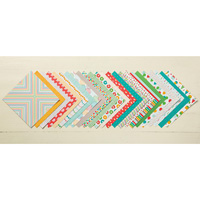
The DSP is stunning.  I can't think of another way to describe it.  Makes me feel like every sheet is precious and I better make the most of it! So I'll be picking up another pack.  You can't beat the price for so many designs and sheets.  
That's all for today!  I'm still trying to get a workshop on the calendar. Life has become hectic these days but who doesn't love a crafting day reprieve! Soon, my friends. Soon.
Thanks for visiting!! 
Always,
Sabrina


Monday, January 11, 2016


Hello again friends!!

So soon? I know, I just posted! I've been on a crafting binge.  Coffee, late nights (I'm a night owl), kids in bed ON TIME, and movies.  I truly enjoy that quiet time, not to mention I've had a cold so I'm not exactly up and about like I would be on a normal.  However, I did manage to get 10,000 steps in! Anybody else? Anyway, I'm straying.....


It's pretty rare for me to participate in design challenge on other blogs and websites. I have a couple of times and it is a lot of fun! So I'm making it my new initiative to participate more. Having said that, here's my entry for Paper Craft Crew's challenge this week!


Here's the template:


Cute, right?
My take on it......


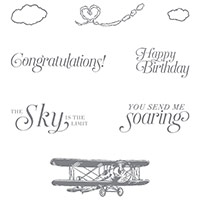
The Designer Series Paper pack I used on the card is just stunning and new in the Occasions catalog.  I love it and you're sure to see more of it here.  There are so many beautiful images used in this pack I might have to grab another one! Or two, let's be real.  The cool little airplane I cut out by hand because, well, I love airplanes.  That's sounds very toddler-ish but I do. New and old.  The image comes out of The Sky's the Limit stamp set from the Sale-a-Brations catalog which means.......it was FREE!  I fell in love with the set the moment I saw it at the Onstage event this past November.  Note: It's only available for a limited time! So jump on it while its still available.  Hurry. Like right now. Here I'll help.   Sale-a-Brations

There it is! I'm very excited to be participating and plan to more often. 

Thank you for visiting! Up next,  Valentine's day projects! Can't. Wait. 

Always,
Sabrina


Tuesday, January 5, 2016

Occasions 2016 and Sale-a-Brations!!


What's the big deal? Free stuff! That's what! For every $50 you spend (before tax and shipping) you get to choose one free item from the Sale-a-Brations catalog! Tell me that isn't awesome!  What I really really love is the free stuff is fabulous.  Don't think of lame dollar store junk.  We're talking beautiful stamp sets, pretty printed vellum and perfect Project Life sets! It's pretty great.  

Take a look! below! Visit my site to see both catalogs in all their glory.  


Oh and let's not forget the other Super Special perk of Sale-a-Brations!!
I know! Cool, right?  If you were ever, ever thinking of becoming a Demonstrator or Hobby Demonstrator, this is the time.  It's like extra, extra free product! It can be overwhelming, take a deep breath.  Then go here.


Keep an eye out! Projects will be posted soon AND an upcoming workshop! 

Thank you friends!!

Sabrina 


Monday, December 7, 2015


We probably say it every year, but this year really feels like the holidays really snuck up on us! I'm trying my darndest to get the decorations up with work, kids and baking I just can't finish.  Really, just my idea of finished.  I did managed to knock out a super awesome pinterest craft idea! I'm so excited I pulled it off! I might even make more.  Maybe.  I have a ridiculous amount of branches in my backyard from trimming our trees outside and we don't know what to do with them.  They're slowing going out with the green trash each week but I think that might take years. So why not make use of these beautiful branches!


Don't mind the Thanksgiving-esque flowers below, they haven't made their way out yet. 


Thanksgiving coffee cup. I love gold this year. That is all.


These tags are a kit! A kit! Oh so pretty and easy. love.


  Anyone else make it out to an Stampin Up Onstage event?!?!  I love Stampin Up events! Make n Takes, grub and free gear!  Being a demo with Stampin Up has fab perks people.  
We took a trip down to San Diego and made it an overnighter.  This pic is from the rooftop Sky Lounge atop the Marriott.  It was amazing. Beautiful lounge too. 


And our awesome group at Onstage the next day! These chicks are the best! Can't wait for the next one!


Thinking about becoming a demo? Take a gander. No pressure. :-)


Onward.....
I know what you're thinking, advent calendars! I made one this year. The boys get to share. 24 individual packages 3x! Not this year. So here's my solution and they're happy with it. The problem I encountered was the weight of it. I'm still looking for a place to hang it without bringing down a wall.  It's not that heavy, but I'm still deciding on a spot.  In the meantime, the boys love tearing each roll off the ribbon to open it and each one that opens one makes sure they each get one.  So stinkin sweet! I love those guys! 


I was stashing empty TP rolls for awhile. With 5 people in the house, it didn't take too long. Ha!
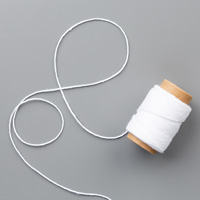
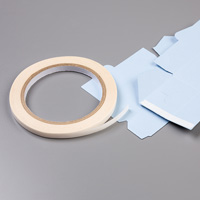
The paper I used it from the Merry Moments Designer Series Paper Stack. They are 6x6 sheets double sided super cute Christmas paper.  I trimmed them to be 4x6 and they fit perfectly.  I lined each short edge with Sticky Tape (my absolute fave adhesive).  Wrap the roll in tissue paper, fill with candy or advent prize of choice (I'm open to ideas without candy!), twist the ends and roll up with the DSP! I tied the ends with Whisper White Baker's Twine just to be sure candy doesn't fall out.  Last place I want to be is at the vet because my dogs at all the chocolate.  


Just an FYI, there's still time to order your Christamas goodies but do it now! No one likes the cool stuff delivered after Christmas! :-)   

Merry Christmas! Happy Hanukkah! Happy New Years! Happy Holiday Season! 

With Love,
Sabrina 


Saturday, August 8, 2015


Hello again friends!

I hope everyone has had a wonderful summer! Summer here in SoCal has very kind to us with rain days (weird), beautifully warm days and some hot ones that sent us to the beach!  We have nothing to complain about! 😊😊

Onward! Being a cake decorator on the side, I'm always on the lookout for new ideas in decorating. And whoa. Check this out! Stamping with food coloring on fondant AND using wafer paper with stampin Up punched. A whole new world. (Ya, you know you just sang that in your head like Jasmine) 😂
Anyway, I started experimenting. And here's what happened:


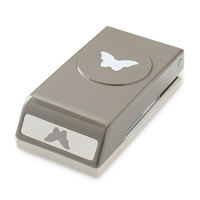
Not too shabby, right? I just finished a fairy cake with a ton of these butterflies so I had to sprinkle them on some fondant for cupcakes. Best idea ever.  To get these seriously delicate and fabulous butterflies you'll need some wafer paper. Amazon, Michael's, Joann's or any nearby craft or cake store should carry them.  They really are inexpensive. I used cosmetic sponges to brush the wafer paper with food coloring (I use coloring paste. It's thicker and the idea is to not wet the paper too much, it will crinkle) and let dry. Really only takes a few minutes. Than punch away! Your paper, not people.  
The stampin was quite the challenge. It takes some finagling(?) but it worked out. I'll probably nix that part from the workshop because it's a little more labor intensive than I expected and save it for orders. Maybe. Ultimately, I popped that bad boy into a cupcake holder, aka throne as I've seen it called, and viola!  Sweet little display of yum! 
Fun! I found some holders on Pinterest but decided they were too much work for a workshop so I reworked the design and managed to use one sheet of 8 1/2 x 11 cardstock. I used Cherry on Top DSP with matching color coordinated cardstock. Love that they put together packs to match the DSP for those of us that are color coordinating challenged. I said I would.
As I said, start with an 8 1/2 x 11 sheet of Cherry on Top cardstock, choose your coordinating Cherry on Top DSP for the background, one for your bow, and Cherry on Top cardstock for the oval cutouts. Now get started! 
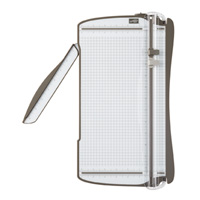
Cut you 8 1/2 x 11 sheet on the short side at 5 1/4. This larger piece will be your base.  The remaining sheet will be the background piece you'll attach later.  FYI, decorate this first.  I got a little overexcited, attached it, then carefully peeled it back off.  Don't do that. 


 Score your smaller piece (background piece) at 5 1/2. Set that sucker aside.


 Score the larger sheet on the long side at 1", 5", 6", and 10". On the short side score at 1" and 4 1/4". In the end, you should have a score 1" inside each side of the sheet. 
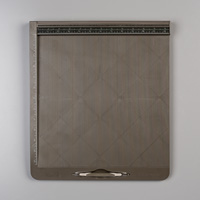
I. Love. My. Simply Scored tool. 
That is all.  Next step----

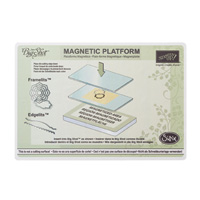
 Cut the score lines on the long sides (both sides) to the 1" score line.  See that top part on the opposite side of the circle that you used your circle framelits on your Big Shot to cutout to later be filled with a cupcake? Get rid of those tabs on either side.  They just get in the way.  Start Sticky Taping! The pic below shows the inside of your box.  

 This pic below is the outside of your box. Keep it neat. 
 Time to put together your background any way you choose! These colors are so eye popping and fun to use especially with desserts which are usually associated with parties and that is what we're talking about, right? 

 Flip open your background piece. Sticky Tape the bottom. You'll need this at the very bottom, on the inside to adhere to the box. Then randomly Sticky Tape the inside. 

 Alrighty. Start stickin your box together BUT the back flap of your box will be sandwiched between the front and back of background piece. As you bring up this piece after your sandwiching (crafting, food or whatever. We do need to sustain our energy) pull it up to mesh with your box.  There should be a strip of Sticky to help is stand up against your box. 

 See it? Stuck to the box? Easy peasy. 
That's it! The base of you project from one sheet of 8 1/2 x 11 cardstock.  I'm happy. I hate having a ton of scraps that I can't bring myself to toss and hang on to in hopes of using someday. Somehow. 

Here's a list of the products used.  Remember, most of these products are one time purchases to use over and over again.  I do my best to make the most out of the consumables such as paper, adhesives and accents and certainly love to share my adventures in paper crafting with all you lovelies! 

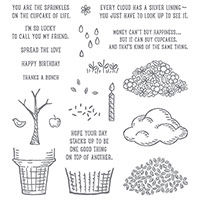
It gets better! I used the Sprinkles of Life photopolymer stamp set for this project.  Stampin Up donates a portion of the proceeds to Ronald McDonald House from each sale.  Isn't that fantastic!  Donating time and/or money makes such a difference in the lives of those struggling in one form or another, whether through Stampin Up or directly to any other reputable organization. As a cake decorator, I feel privilege to be a part of Icing Smiles and to have donated time and cakes to those families and children impacted by critical illnesses. Purchasing this stamp set and donating seemed like a perfect compliment.  

Thank you for visiting!  
lots of love
Sabrina


Copyright (c) 2010 BeanieCraft. Design by Wordpress Themes.

Themes Lovers, Download Blogger Templates And Blogger Templates.